Deus Ex Walkthrough – Sub Base
- Introduction
- Liberty Island
- Battery Park
- Hell’s Kitchen
- Warehouse District
- Mole Tunnels
- Airbase
- 20th Street Warehouse
- Secret MJ12 Facility
- MJ12 Helibase
- Tonnochi Road
- VersaLife
- Hell’s Kitchen 2
- Naval Shipyards
- Cemetary
- Paris Catacombs
- Champs Elysses
- Chateau DuClare
- Cathedral
- Vandenberg
- Gas Station
- Sub Base
- Missile Silo
- Area 51
- Conclusion
- Saves
New West Coast - Sub Base
Destroy the military bot near to your starting position and then head north. Watch out for snipers above you and on the roof of the building out at sea. Destroy the second military bot and also the MJ12 trooper near to it. You will inevitably sustain some damage from destroying the bots. Search the trooper to find a nanokey. Walk over to the hut in the northwest corner and use LAMs to climb onto the roof. Open the hatch and drop down into the hut. Find 2 nanokeys inside a cupboard. As you approach the door you will get 149 skill points. Use one of the keys to open the door. Make your way over to the base of the column under the main building and open the door with your nanokey. Ascend the sprial staircase as well as the next two small flights of stairs. Kill the MJ12 trooper patrolling this walkway and the MJ12 trooper in the room to the left who will probably come after you when you kill the first one. When everyone is calm again, speak to the scientists that you find around here. One of them will give you the code to the karkian tank on the right as you come up the stairs. Enter the code and jump into the tank to get 50 skill points. Kill the baby karkian (after being told by the scientist that the animals are being treated too badly!) and then leave the water again. Now go across to the room that was on the left as you came up the stairs. Avoid the camera in here and go through the passage leading west. Kill the 2 MJ12 troopers in this area (one in this room and the other in the room just off to the left). Now that the floor is safe you can go back to the room with the camera and look at the keypad to the locked door without worrying if the alarm goes off. The code only has 2 digits so you can use trial and error to bypass it. When you get inside you are awarded 50 skill points. Go back through the passage by the camera and get to the far southwest corner of this floor then climb the ladder up through the hatch out onto the roof of the building.
From the roof you should see 2 MJ12 troopers patrolling a walkway around the outside of the building just a little below you if you look over the edge. Drop down to the walkway and kill them. Walk around until you find the entrance to the building and kill the man in black. Go further inside to the computer lab and speak with the scientists to get a map of the facility. Go out of the computer lab using the other door and find the ladder leading both up and down. Climb down just when the MJ12 trooper below begins to walk away from the ladder and sneak up to kill him from behind. Climb down the next ladder and kill the MJ12 trooper walking around near two turrets. If you remember from when you were outside, there was a nasty sniper running around on the roof of the module that you are currently standing in. You can access the roof through a hatch in the ceiling (requiring you to collect three small crates from earlier in the map and build a step ladder up to the hatch out of them). It is also possible to jump down onto the roof from the previous part of the building, but you will lose health in the drop even when using your speed enhancement. However if you are lucky the sniper occasionally falls off the roof and into the water in which case there is no need to access the roof here. So the best thing to do is to first jump into the water here. Kill the 2 scuba spaners and look for an MJ12 trooper. If there is one in the water, kill him. If there isn’t then you will have to get onto the roof of the module you came from to kill him.
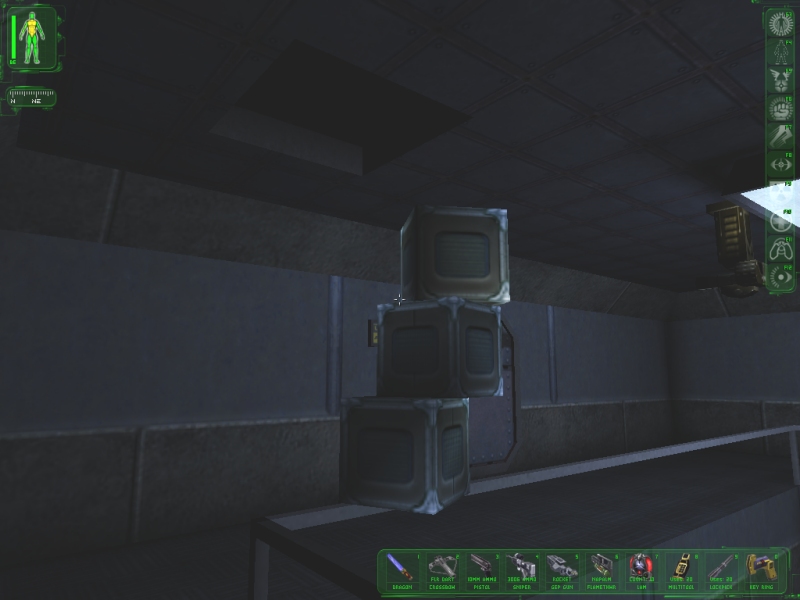
Get back inside the module and open the door that says “URV Bay Access”. Kill the MJ12 trooper carrying a flamethrower on the walkway and enter the neighbouring module. Kill the MJ12 trooper in here and then enter the lift and press the button to go down. Run for shelter from the camera above the door by hiding behind the crate ahead of you. While you are there, hack the security computer terminal to disable all the cameras and set the turrets to attack enemies. The turrets should kill one MJ12 trooper for you straight away. Go around the corner and kill the next MJ12 trooper on the lower level. If the 2 MJ12 troopers on the upper level come to get you, just lead them towards the turrets, otherwise kill them yourself. Speak to the scientists and hack the security computer terminal on the lower level to disable the cameras and open the door. Also read the datacube. Then go up the stairs and head west. You get 300 skill points for finding the subs. Speak to the mechanic and then “use” the sub that is not undergoing repair work at the moment.
New West Coast - OceanLabs
Use the security computer terminal to disable the cameras and open the doors. Jump into the water and swim to the right after you have left the submarine bay. There are two openings in the south wing of the base. Go towards the nearest of these (by a red light on the underside of the building) and enter through the hatch where you will be able to take a breath. You will need to use your aqualung augmentation for about 5 seconds or so during this swim. This room is basically a halfway point towards reaching the further entrance to this wing. Having taken a breath of air, turn on your aqualung again and swim back through the hatch. Continue further south and there is a hole in the lower left side of the building. Swim through here (sometimes you will get stuck for a while) and go further south once you are inside. In the far room, approach the desk and take the nanokey. You will also get 200 skill points. Now return to the halfway point before continuing back to where you left your submarine. Climb out of the water and go up two flights of stairs and then enter through either of the doors on that level. See the datacube at the back of the room and then jump into the pool of water in the middle of this room and kill the 2 baby karkians. Climb out of the water and return to the stairs. Go up to the top level and open the door to the North. Run for shelter from the malfunctioning turret behind the display screen by the wall on the left. From this hiding position access the security computer terminal to disable the cameras and set the turrets to enemies.
Go through the door leading north. This next part can be very difficult. Ideally you should have conserved as much bioelectric energy as possible. There is an out of control turret down the corridor on the right. With lots of patience and luck it is probably possible to do this without destroying the turret, but if you have enough bioelectric energy (realising you will still need to have some remaining for the rest of the level) I recommend the following: first, enable crouch toggling if it isn’t already, then run for cover behind the large metal crate. While crouched, push the crate closer to the turret. It will get stuck at some point just before the dead body. From this hiding position, use your spy drone augmentation to temporarily disable the turret and then run over to it and smash it down using combat strength with the dragon tooth sword. For your information, after doing this my bioelectric energy level was at 53%. Now that you are in peace, take the nanokey from the floor, then open the door on the left with your nanokey and find some 20mm HE ammo inside.
Now keep going north and use your nanokey to open the next door. Kill the 2 greasels in this room and climb down the ladder where there is another greasel that you should kill. Go through two doors to the South. In this room are 3 greasels to kill. There is also a datacube in the middle of the room containing a vital code. Return to the flooded room with the ladder that you came down on to the North. Use your newly acquired code to bypass the security keypad on the locked door in here and go through. You will get 400 skill points as you go up the stairs. You can spend 1350 skill points to upgrade your swimming capabilities to advanced. The next room is filled with electrical sparks that you have to avoid. Read the datacube on the desk and go through the other door and down the stairs. The next room contains 2 greasels and 2 baby karkians. The adjoining smaller room on the right is home to a fully grown karkian and also a nanokey. Once you have killed the various creatures, proceed through the door to the East using your nanokey. Walk through the darkened passage and enter the crew module. On the upper level, check the room on the right. Inside is a greasel. Then smash open the locker on the left to find yourself a reload weapon modification to use on your sniper rifle. Now climb down the ladder to the lower level of the crew module. You can ignore the various rooms off this corridor. Simply get into the lift at the end and ride it down to the bottom. As you step off you get 400 skill points. Disable the gas grenade on the wall ahead of you and keep going until the map changes.
New West Coast - OceanLab UC
The room to your left contains 4 mini-spider bots that will be released when you pass through the blue lasers. Given your current level of health and energy it would be quite difficult to attack them all in the correct order. So I suggest the best plan is to make a run for the next repair bot (which is not too far away now). N.B. Do not break open any crates you may come across throughout the rest of this level. The reason will become apparent later, and they won’t contain anything you want anyway. To get to the repair bot, activate your speed enhancement augmentation and hurriedly go through the lasers. Jump over the bots and get to the large room beyond this one. Avoid the large spider bot and make your way to the lift at the East end of the room, just before you reach the electrified water. Press the button to call the lift and then ride it to the top. Up here are two turrets that will fire at you. Climb onto the railing on the right side of the steps leading down and get over to where the security computer terminal is. This position should be just out of range for the turret.
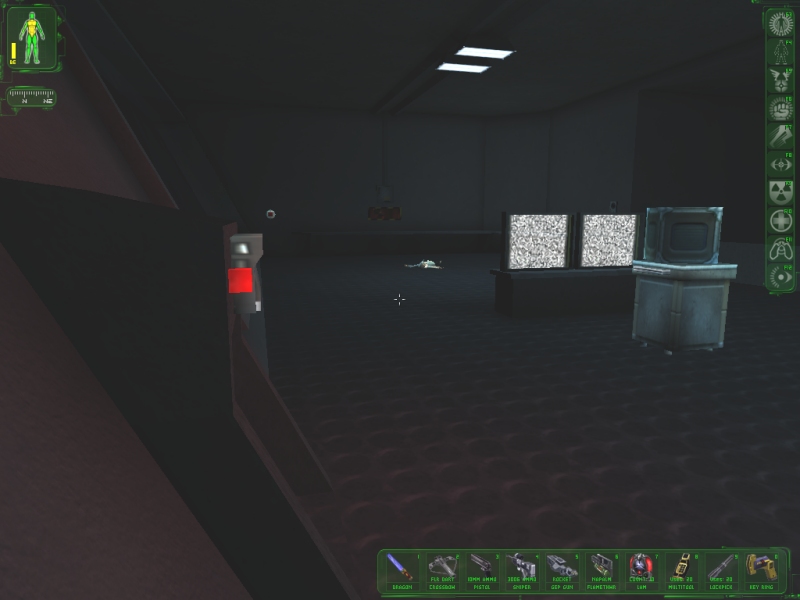
Hack the terminal and raise the bridge. Now go down the steps and across the bridge to an area in which you will find a repair bot. Finally you can replenish both your health and bioelectric energy! Now that you are up here, let’s do things in reverse order. Access the personal computer terminal in this room and use it to download the UC schematics for 500 skill points. Take the lift back down again and now destroy the spiderbot and the 4 mini-spiderbots. Bob Page will then speak to you on the communications device. Jump into the electrified water by the lift to find the body of a man in black carrying an augmentation upgrade canister - use this to bring your speed enhancement up to level 4. Below the body there is also a datacube. Get out of the water again and find a lift on the south wall of this room. Ride it up and enter the storage area. Kill the 3 mini-spiderbots inside.
If you now go back to the blue lasers that triggered the release of 4 mini-spiderbots earlier you will see that there is a grate in the wall just beyond it. The grate can’t be blown open and currently requires 2 lockpicks. Unfortunately there are in fact 2 greasels in the vents that this leads to, so if we are committed to killing all the bad guys possible you will have to get through there and seemingly waste 2 lockpicks. Or is there another way round? Hmm. Look up at the ceiling of the room that the bots came from and you will see 6 large fans. If you can climb up to one of these fans, smash the fan down and climb yet higher you will reach a grate that is unlocked through which you can jump up into the vents. But can you figure out how to get up there? LAM climbing certainly won’t work because the walls aren’t straight. Now what I am about to suggest might seem just slightly over the top to the vast majority of you reading this, but it works. You can build a giant tower of various kinds of boxes up to the venting system. However you will first need a few more crates, so you will come back here soon after getting them.
New West Coast - OceanLabs
First return up the lift and past the crew module to where the large drilling machine had been. Walton Simons will be waiting for you here, so kill him when you find him (not very hard). Go to the left where there had previously been a karkian lurking. In this room are 2 small metal crates. These are the extra crates you will need. Carry them one at a time down the lift to where you will begin making a tower of boxes and leave them on the floor there.
New West Coast - OceanLab UC
Go back towards the UC area and collect all the small metal crates and wooden crates that you can find and bring to where you left the other crates. By now you should have accumulated 7 wooden crates and 4 small metal crates. You will still need 2 medium sized metal crates to make this work. As you are probably aware this size of crate can’t be lifted (as you don’t have the necessary augmentation to make this possible), and there is also a small step up from the UC area to the room in which you will be constructing this tower. Therefore you need a way to get the medium crates over the step. The way to do this is to drop the medium crates onto some small metal crates; push the small crates up to the step; then push the medium crates over the step.
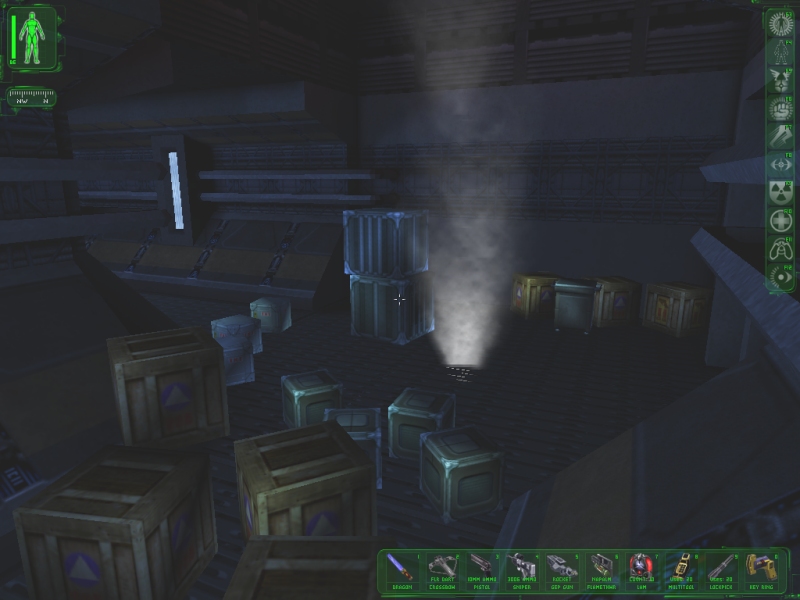
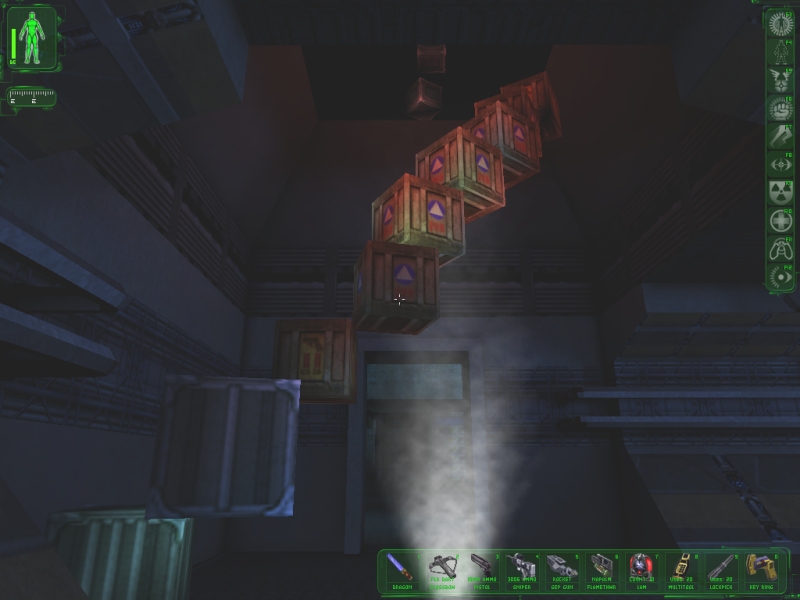
Here’s precisely how to do this: take one of the small metal crates to the lift up to the south storage room in the UC area. Place it on the lift and ride the lift up. Enter the storage room and push the medium metal crate out of the door towards the lift. Send the lift down and then push the medium crate over the edge so that it lands on the small crate. Get down to the crates yourself and push the small crate with the medium one on top so that they are both on the large lift to the East. Ride the lift up to the top. On the left is the second medium crate. You may need to sprint to the turret here and destroy it with combat strength in order to continue. Send the lift back down and then push this second medium crate over the edge so that it lands on top of the first one which is in turn standing on the small crate. Jump into the water and then climb out. Push the small crate with the medium ones above it towards the step up to the room with the fans where you are going to build the tower. When the small crate gets stuck on the step, just push on the lower of the medium crates so that they slide over the step into the room you want them to be in. Now you will have the base of your tower already in place: the two medium crates on top of one another. Move the structure so that it is under one of the fans and continue to build the tower upwards using the wooden crates. When all 7 wooden crates are in place you can climb the tower to reach the fan. Smash down the fan and you can now climb into the fan’s enclosure. Above you is the hatch you need to get through. Go back down and carry the 4 small metal crates up to this enclosure (N.B. when I say “carry” I mean you have to throw them up a few steps at a time, climb higher and then throw them further again, as you can’t jump whilst carrying a crate). When all 4 small crates are in the top area, build a smaller staircase with them from the edge towards the hatch. Climb to the top and open the hatch. Then enable your level 4 speed enhancement augmentation and you will just be able to get into the vent system! Phew, like I said I have my doubts that anyone besides myself will bother trying this 🙂 Anyway, I have prepared some screenshots of this below and I have also included and extra save-game file from after finishing the tower so you can see how it should look and to show that I did actually do this:
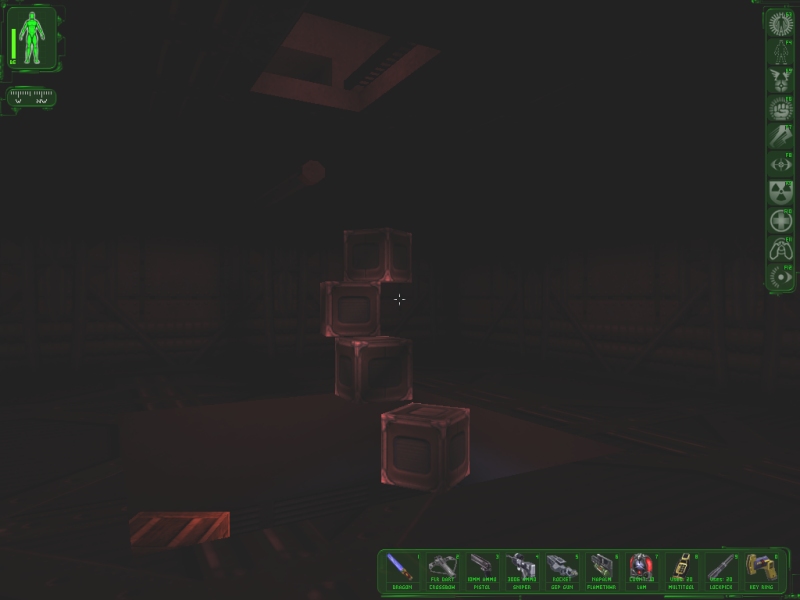
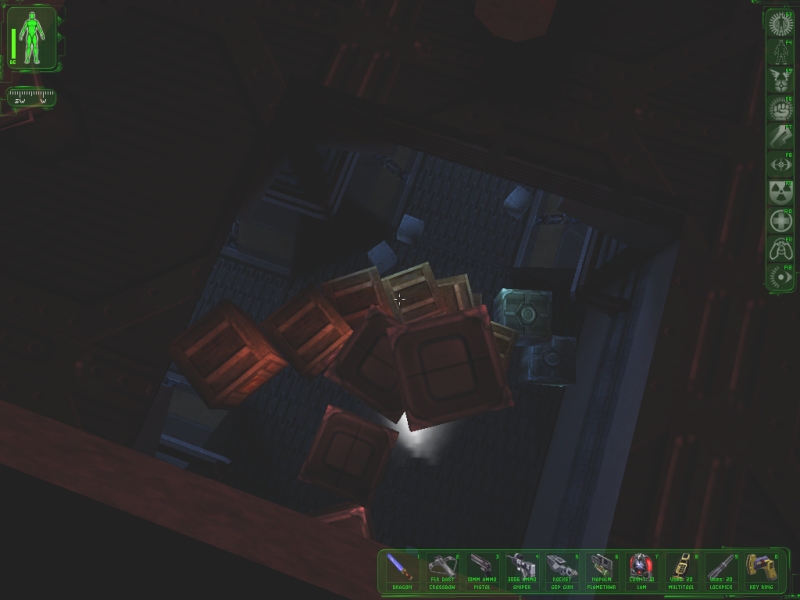
When you reach the ventilation system, search around for the 2 greasels and kill them before coming back down again. Now get back to where you had killed Walton Simons.
New West Coast - OceanLabs
Continue retracing your original steps. When you reach the first flooded room there will be a scuba spaner waiting for you. Kill him and then climb the ladder. Go south and take the door on the right when you reach the room with the first turret that had malfunctioned. Go down the stairs and kill the scuba spaner that is on the middle level. Get back to the sub and take it back to the shore.
New West Coast - Sub Base
Once you reach the sub base there are no longer any enemies left to oppose you. Simply return to the roof of the main part of the building onshore. Just before you get out into the open air you should drop your dragon tooth sword. Gary Savage will run to meet you on the roof and he will give you an augmentation upgrade canister. You then get 500 skill points as well. If you didn’t have enough space to accept the canister you will get the skill points anyway. Then you can simply speak to Savage again and the same thing happens - you get another 500 skill points. This is a bug in the game which you should not exploit. In older versions you were also able to get multiple augmentation canisters in this way as Savage would drop the one he was trying to give you when you couldn’t take it and then you could repeat the process again. This is why I told you to drop your sword just before seeing Savage. Use the canister to bring your environmental resistance up to level 4. Now climb aboard Jock’s helicopter.
Statistics
| Items | Minimum Collected | Maximum Collected | Used Up / Dropped |
|---|---|---|---|
| skill points | 2549 | n/a | 1350 |
| credits | 0 | n/a | 0 |
| weapon modifications | 1 | n/a | 1 |
| reload | 1 | n/a | 1 |
| augmentations | 0 | n/a | 0 |
| augmentation upgrades | 2 | n/a | 2 |
| datacubes | 5 | n/a | n/a |
| nanokeys | 6 | n/a | n/a |
| enemies killed | 49 | n/a | n/a |
| baby karkians | 5 | n/a | n/a |
| greasels | 11 | n/a | n/a |
| karkians | 1 | n/a | n/a |
| men in black | 1 | n/a | n/a |
| military bots | 2 | n/a | n/a |
| mini-spiderbots | 7 | n/a | n/a |
| MJ12 troopers | 16 | n/a | n/a |
| scuba spaners | 4 | n/a | n/a |
| spiderbots | 1 | n/a | n/a |
| Walton Simons | 1 | n/a | n/a |
| ammo total | 1 | 1 | 0 |
| 20mm HE ammo | 1 | 1 | 0 |
| other important items | 0 | n/a | 0 |