Deus Ex Walkthrough – Liberty Island
- Introduction
- Liberty Island
- Battery Park
- Hell’s Kitchen
- Warehouse District
- Mole Tunnels
- Airbase
- 20th Street Warehouse
- Secret MJ12 Facility
- MJ12 Helibase
- Tonnochi Road
- VersaLife
- Hell’s Kitchen 2
- Naval Shipyards
- Cemetary
- Paris Catacombs
- Champs Elysses
- Chateau DuClare
- Cathedral
- Vandenberg
- Gas Station
- Sub Base
- Missile Silo
- Area 51
- Conclusion
- Saves
Preparation
Make sure you have customised the controls to your satisfaction and if you haven’t played Deus Ex previously it is a good idea to try the training mission just to get a feel for how the game plays. Once everything is to your liking we can begin. Choose to start a new game, and select ‘realistic’ as the difficulty. Decide on a player name and appearance for yourself, and then select which skills to start the game with. You begin with 5000 skill points at your disposal. Referring to the analysis of goals for the game in the introduction you will be upgrading the computer skill first. However, begin by downgrading weapons: pistol from trained to untrained to gain a further 1575 skill points. Then upgrade computer to advanced level, using 3175 skill points. You might notice that when you enter the game you are in fact still trained with the pistol. Therefore this could be considered a cheat, by making use of a bug in the game. However downgrading the pistol was perfectly acceptable and the intention was to get more points to upgrade the computer skill sooner, besides we don’t really care whether the pistol skill is trained or untrained as you won’t be using the pistol much at all. So in these circumstances I don’t think this should be considered a cheat. However I have also heard that this only happens on certain computer configurations. If you find that your pistol is untrained when you start the game don’t despair because this is how it should be, and like I said it won’t make any difference since you won’t use the pistol much. Also upgrade your skill in weapons: low-tech from untrained to trained, using 1350 skill points. Now click on ‘start game’.
NYC - Liberty Island
After the opening sequence has finished you will find yourself on a pier at Liberty Island, your only possessions being 1 pistol with 6 rounds of 10mm ammo, 1 riot prod with 4 prod charger rounds and 1 medkit, along with 500 credits. First pick up 1 crowbar which is in front of you to the right. Soon Paul Denton will come to speak to you, choose to take 1 GEP gun when he offers some weapons to you. You will also get 4 rocket rounds when you are given the GEP gun. Open the 2 crates you find on the pier using the crowbar and take all the items you see: 1 lockpick, 1 pair of binoculars, 1 forty and 1 soda.
From now on, when I tell you to ‘open a crate or a box’ I mean that you should use a weapon such as the crowbar, combat knife, baton, sword, or dragon tooth sword to do so unless I explicitly say otherwise. In other words don’t use any ammo when breaking open such objects
Go down the steps near to where you start to find 2 more crates floating in the water. Take 1 bioelectric cell and 1 multitool after smashing them open.
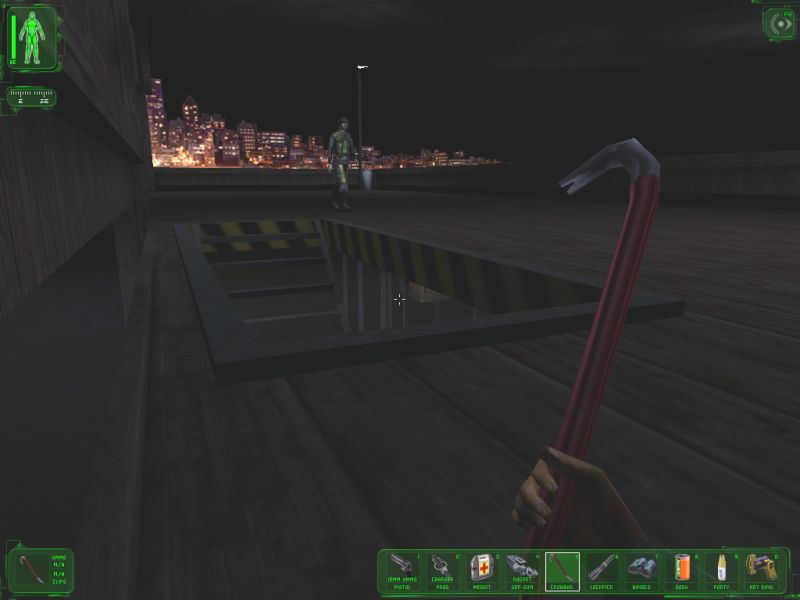
Walk along the pier towards the island and you will see 3 more crates at the end containing 4 prod charger rounds, 6 rounds of 10mm ammo and 4 darts , as well as 1 baton lying on the rail of the pier next to them. Pick all of these up. As you exit the pier, select the baton as your main weapon. If you were fortunate enough to spend long enough getting this far the friendly security bot on the pier may have already killed the first NSF terrorist for you (the one who was or still is walking around just to the left of the column of bricks right in front of you). If not then wait until his back is turned and crawl up behind him. Then quickly stand up and hit him on the back of the neck with the baton. While you are still untrained in low-tech weaponry you may need 2 hits to do the job and he will be lying unconscious on the floor. If any of the nearby enemies see or hear you hitting the terrorist they will come running towards you. If this happens kill these other enemies too (and search their bodies). Search his body to collect 3 +/- 3 rounds of 10mm ammo and 1 combat knife. If you used the baton to knock him unconscious (as opposed to letting the bot do the work for you), you should now use the combat knife on the dead body to ensure he actually dies.
Whenever I tell you to kill someone (or something!) I will generally mean using a melee weapon such as the combat knife, unless otherwise stated. Basically use anything in your inventory that you feel like using so long as it does not require the consumption of any any of your ammo. If your act of killing one of the enemies draws the attention of others nearby then don’t hesitate to kill them too as you would only do so later anyway. If there is any exception where someone must be kept alive for a while then I will let you know. Of course the listing of items picked up from the bodies will then be out of order compared to the list in this text, but you should be able to cope with that! Just remember to search the bodies when you kill anyone. One thing to note is that the ammo you pick up from dead bodies will vary. The amount of ammo an enemy has loaded in his weapon before you meet him appears to be random to a certain extent (anywhere from 1 to 4 for many ammo types, but this depends on the ammo) so there is no definite amount that you will pick up. However, given that they can use up ammo and reload their weapons, you could pick up anything from 0 ammo to a full clip each time). That is why the uncertainties are shown for example as ‘3 +/- 3’. It is not terribly important how much ammo you pick up, except in the case of the scarce forms of ammo, which I will mention before you kill the enemies. If you really want to collect as much ammo as possible all the time (you must be more of a perfectionist than me!), then either: keep reloading the game until the enemy has a full clip when you kill him (kind of a cheat), or let him shoot at you until he has to reload and then kill him before he takes another shot. The last one is useful if it is inevitable that the enemy takes at least one shot at you.
You should also have gone past the dead body of a UNATCO trooper lying on the edge of the slope down to the pier. Search his body to collect 1 pack of cigarettes and 1 candy bar. Switch to using your combat knife as the main weapon, that way the enemies will indeed die when you hit them (twice if necessary) rather than fall unconscious. Also the knife generally only requires 1 strike to the back of the neck to be lethal. The only disadvantage being that the enemies will let out a shriek as they die. Now kill the NSF terrorist whose patrol route brings him past the right side of the column of bricks as you look at it from the pier. You will get 3 +/- 3 rounds of 10mm ammo from his body. You will see another dead UNATCO trooper’s body lying in the wide gap in the wall to the East. Search it to get 1 pepper gun with 1-4 pepper cartridges. Just ahead of you there are 2 crates of TNT lying on the grass. Pick one of them up and carry it round to the West side of the column of bricks. Place it next to the large storage box on the grass (I mean the raised section). You can use this screenshot to help locate the secret door:
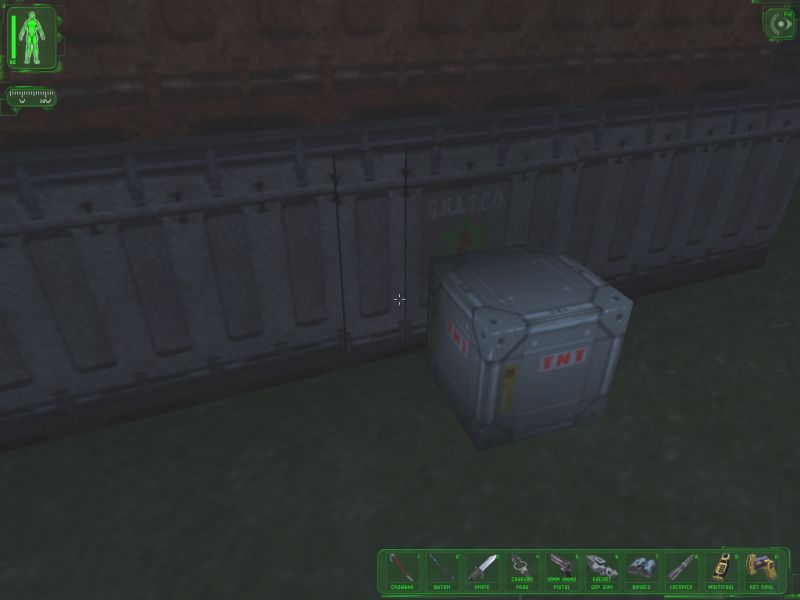
When you put down a crate of TNT and don’t intend to detonate it while placing it on the ground you must crouch while letting go of it and face forwards or even slightly towards the ground so the crate takes as little damage as possible as you drop it.
You could simply get back to a safe distance and then fire your pistol at the TNT so that it detonates. However that would be wasteful of your ammo. Instead use the nearby small metal crate as a step to jump onto the storage box in which the secret door is hidden and break open the crate which is up there. You will be able to pick up 1 gas grenade from the crate. Whilst you are on the storage box, pick up the TNT crate and place it on the highest part of the box (where the gas grenade was). Now lift the small metal crate onto the lower part of the storage box and use it to jump up to the higher part yourself. Pick up the TNT crate and now throw it over the edge so that it lands as close to the secret door as possible. Make sure that you are not in direct view of the spot where the TNT lands or else you may be killed in the explosion! The drop should detonate the TNT, blowing open the secret door at the same time and revealing the medical bot hidden inside (there is only one, the other two are simply part of the texture on the wall). Now throughout this map you can always return here to the medical bot in order to recharge your health if you ever take any damage.
If there is a medical bot available to you (in other words not still guarded by enemies and it is possible for you to reach it - you haven’t gone past a ‘point of no return’ in the map since passing the bot) then you do not have to worry about taking damage so long as it doesn’t kill you because you can always return to the bot to recharge your health. But remember to replenish your health as soon as possible after taking any damage to ensure you keep in a fit state.
Now head North along the red-brick path and kill the 2 NSF terrorists you meet in this area. You will pick up 1 mini-crossbow with 4 tranquilizer darts from one body and 3 +/- 3 rounds of 10mm ammo from the other. Be sure not to go beyond the gap in the next wall you come across as there is an enemy security bot on patrol there. You should see some items lying on top of one of the storage boxes in this area. Pick up the 4 prod charger rounds and the pepper gun giving you a further 100 pepper cartridges. Look at the datacube to find out a login and password for the security systems in the statue. Go back to where there was a turning to the West and past the dead body which you should find lying on the path (it isn’t carrying any items). Walk up to the gate of the UNATCO HQ ahead of you and speak with trooper on guard duty there. Choose the ‘clean the place out’ option in the conversation and don’t buy anything that he offers you (for the moment - you need some more credits first). Go over to the area enclosed by a fence in the Northwest corner. Open the crate and take 1 multitool. Go round behind the communications van where you will find another crate in which you will find 1 lockpick. You may also notice that there is a nanokey hidden between the van and the fence. Return to the front of the van and use the nanokey to open the hatch in the ground. Go down the hatch to gain 50 skill points. Open the crate and take 1 EMP grenade. Climb back out of the hatch again and now use the code you got from Kaplan (the guard by the gate) to enter the communications van. You will receive 25 skill points by doing this. Pickup 1 medkit and 4 tranquilizer darts which you find in the van and look at the datacube hidden under the table.
Exit the van and return to the column of bricks by the entrance to the pier. This time make your way East from here past the remaining TNT crate. Kill the first NSF terrorist you come across and take his 3 +/- 3 rounds of 10mm ammo. Open the crate which is on one of the storage boxes to the left of the red-brick path and take the 1 multitool it contains. Further along the path you will see 2 NSF terrorists chatting over to the left by the base of the statue. Kill them and take the 2 +/- 2 tranquilizer darts and 3 +/- 3 rounds of 10mm ammo they are carrying. Proceed to and kill the next group of enemies: 2 NSF terrorists and 1 mercenary thug. You should obtain 6 +/- 6 rounds of 10mm ammo and 2 +/- 2 tranquilizer darts from their bodies. Collect 1 lockpick which is lying on one of the benches. Now there is one more NSF terrorist patrolling around the opening to an underground storage bunker of sort sort. Kill him and take his 2 +/- 2 tranquilizer darts. Just to the West of the bunker are large stacks of storage boxes. Near these is a crate containing 6 rounds of 10mm ammo. Pick this up:
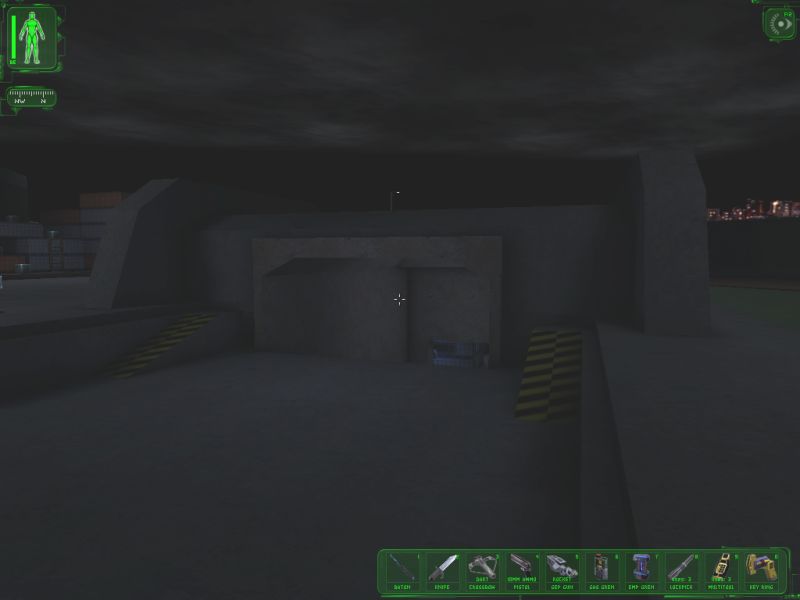
Go down into the underground bunker and take out the NSF terrorist inside there, getting the 3 +/- 3 rounds of 10mm ammo he is carrying. Pick up the 1 hazmat suit on the left and also the 1 multitool on top of the storage boxes found by climbing the ladder. There is a datacube on one of the storage boxes here, but you have already obtained the information which it contains. Take the small metal crate and place it between the East wall and the forklift truck’s prongs. Press the button on the forklift, jump onto the metal crate and from there onto the rising prongs. When they are fully raised jump across onto the yellow machinery from which the blue arcs are coming. Walk off the other side. You should gain another 250 skill points. Break open all the crates and you should find 1 fire extinguisher, 1 bioelectric cell and 2 weapon modifications. You won’t be able to hold everything in your inventory at the same time, so apply both the weapon modifications (laser and clip) to your pistol using the inventory screen as soon as you get them. Use the nearby small metal crate to jump back across the yellow machinery. Exit the underground bunker and rejoin red-brick path.
Continue along the path as it veers to the West, passing a friendly bot. When you come across a turning to the right go down it onto the island’s second pier. Here there will be an NSF terrorist and a mercenary thug. Kill them and take their 3 +/- 3 rounds of 10mm ammo and 2 +/- 2 tranquilizer darts. Also search the dead body of the UNATCO trooper to get 1 pack of cigarettes and 3 flares. Open the 2 crates here and take the 4 rocket rounds and 6 rounds of 30.06 ammo. Keep walking down the pier and first turn to the right. Take the 1 medkit from the crate at the end. Now turn back and go to the hut at the other side of the pier. Pick up the 1 soda from the floor. Talk to the bum standing in the entrance and tell him he can trust you. You will receive a nanokey from him. After the conversation you will be awarded a further 150 skill points. Drop your 2 packs of cigarettes and your 1 crowbar. Pick up the 5 flares from inside the hut. If the drifter woman speaks to you do not buy any of her ammo. Temporarily drop your 1 GEP gun and then go back to where you last killed an NSF terrorist. You should find a crate of TNT near there. Pick it up and bring it to the edge of the water at the end of the pier where there is a slight slope leading down into the water. Throw the TNT into the water and jump in yourself. Align the TNT crate so that it is floating roughly above the hatch in the sunken ship below you. Climb out of the water and from a safe distance away fire 1 round of 10mm ammo at the TNT crate with your pistol. The blast should break open the hatch. Jump into the water again and swim down through the hatch. Activate your light so that you can see what you are doing. You will get 50 skill points while you are down here. Open the 3 crates in there and take their contents: 1 sawed-off shotgun with 4 buckshot rounds and 2 weapon modifications. Swim back up to the surface and leave the water. If you lost some health during the spane you should return briefly to the medical bot to return to full health. Apply both the reload and accuracy weapon modifications to your pistol. Pick up your 1 GEP gun again.
If you don’t seem to be able to pick up a weapon that I am telling you to pick up, make sure that your inventory is arranged in an efficient manner. By this I mean that you should put the largest items in the inventory first and then place the single-block sized items in afterwards to fill up the remaining spaces. N.B. There is a bug that will sometimes let you overlap items in your inventory thus allowing you to carry more than you should be able to. I am assuming throughout the walkthrough that this ‘feature’ will not be used!
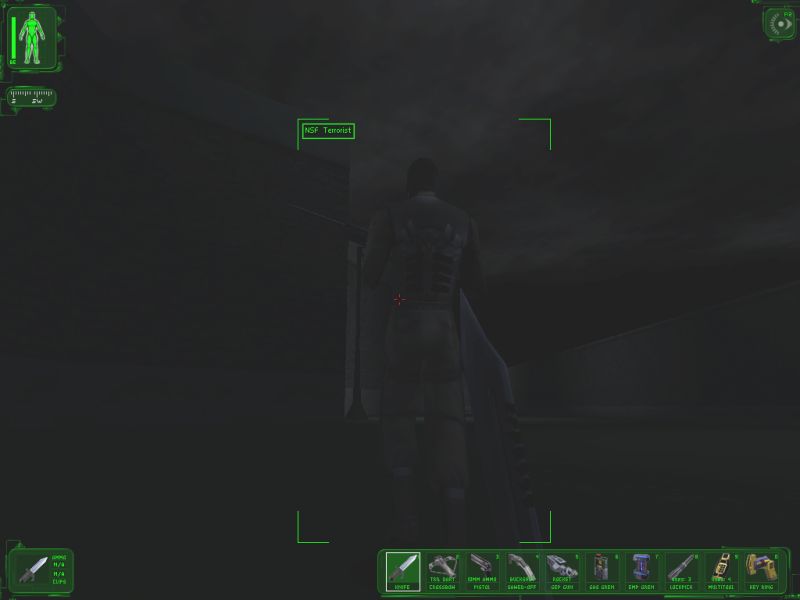
Leave this pier now and find the strip of land running to the Southeast which is being patrolled by an NSF terrorist sniper. First drop your 1 fire extinguisher, 1 pair of binoculars, 1 pepper gun and 1 riot prod. Then kill the terrorist and pick up his 1 sniper rifle with 3 +/- 3 rounds of 30.06 ammo. Ignore the tech goggles:
Return to the red-brick path and continue West to the corner. Kill the mercenary thug who is there and pick up his 2 +/- 2 tranquilizer darts. Turn South and kill both of the 2 NSF terrorists in this next area and take their 6 +/- 6 rounds of 10mm ammo. The dead body of a UNATCO trooper isn’t carrying anything. Proceed through the gap in the wall into the area where the enemy security bot is on patrol. Be sure to avoid its field of view. Go to the right side of the block in the middle and kill the NSF terrorist that you find there. He has 3 +/- 3 rounds of 10mm ammo for you. Enter the yard in the centre of this area (the area enclosed on 3 sides by walls with the open side facing you). Collect the 2 flares here and notice that there is a locked box by the South wall. Go further South to where the remaining TNT crate is (where you previously took a TNT crate from to find the medical bot). Grab the TNT and bring it back to the enemy bot’s patrol area. Place it on the ground just the other side of the wall to the central yard from the locked box. Crouch a safe distance away out of view from the bot and wait until the bot is close to the TNT crate. Then fire 1 round of 10mm ammo with the pistol at the TNT to detonate it, destroying the bot as well as opening the locked box for you. Take the 6 rounds of 30.06 ammo and the 100 credit chit from the box.
Approach the front doors of the statue from the North wall and login to the security computer terminal with the details you got from a datacube earlier. Switch off all 3 cameras, unlock and open the door and set the turrets to enemies. An NSF terrorist may run out of the doors now having been shot by the turrets. If he survives, kill him and take his 3 +/- 3 rounds of 10mm ammo. Collect the 2 flares from next to the front door and the 1 lockpick from the crate there. Enter the building. If the terrorist died before escaping through the doors search his body now. To your left is a crate containing 1 medkit for you. On the far end of a low wall is a datacube, 1 LAM, and 1 lockpick. Drop your 12 flares so that you can pick up the LAM and lockpick. You already have the information contained in the datacube. Go up the stairs on the North side of the room and kill the NSF terrorist who is on the upper level. Take his 3 +/- 3 rounds of 10mm ammo and then walk around this upper level. Open the crate you find and take the 1 medkit. Ignore the PS20. Go down the other stairs and take the 1 forty. There is a grating in the Northeast corner of this room. Go through it:
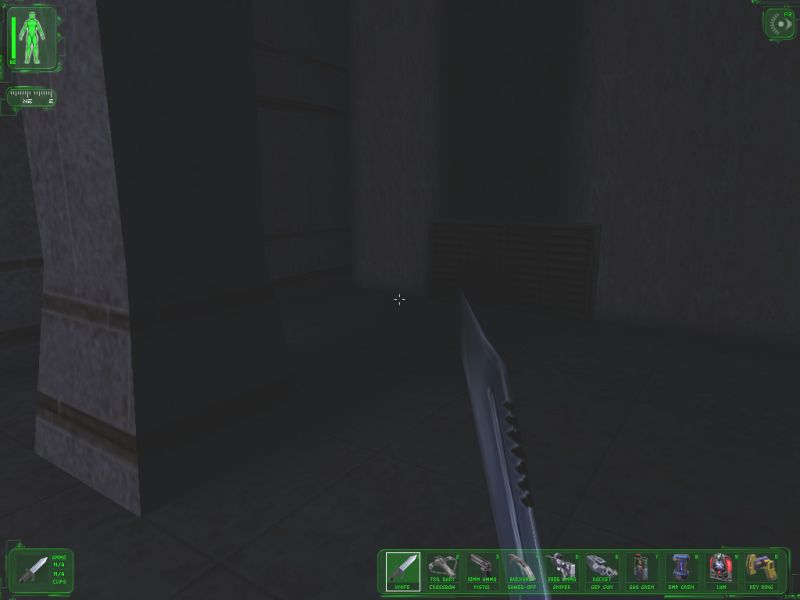
Try to make do without your light to conserve bioelectric energy. Pick up 1 forty that you find on your way as well as the 1 multitool and switch your 1 candy bar for the 1 soy food which is in the intermediate room. Continue through the ventilation duct until you get to a room with a datacube on the table. Also collect the 1 medkit. Now return through the ventilation ducts to the main room you entered first when you came into the statue. Run through the red lasers in the doorway on the right and then back out out into the main room again to get the attention of the guards beyond the lasers. Kill them when they come looking for you. (There are 3 NSF terrorists in total and between them they are carrying 9 +/- 9 rounds of 10mm ammo). Go through the red lasers and turn right. Collect the 1 soda and 1 LAM from this area. Head back past the lasers and take the other turning this time. Carefully avoiding the camera in this room, crawl around the far side of the table in front of the security computer terminal. Login with the same details as last time, turn off the camera, switch the turret to enemies and unlock and open the door. Take the accuracy weapon modification and apply it to your sniper rifle.
Here you will need to temporarily drop your combat knife in order to pick up the weapon modification, but as soon as it has been applied you can pick the combat knife back up again. This kind of situation will occur very often and from now on (assuming it is obvious) I won’t bother mentioning the fact that you should temporarily drop an item in order to make use of another for a short while.
Also collect the 1 soy food from the basin. Approach Gunther Hermann in the cell which you just opened. Talk to him, but don’t give him your pistol when he asks for it. You will gain 150 skill points here. Return to the main room through the red lasers. Head up the staircase directly opposite the main doors, open the crate and take the 1 lockpick. Continue up the stairs until you reach the next floor. Hill the NSF terrorist and take his 3 +/- 3 rounds of 10mm ammo. Exit through the triple doors ahead of you so that you find yourself on a walkway which runs around the top of the statue’s base. Kill all the enemies on this floor. That includes 4 NSF terrorists and 1 mercenary thug. They will give you 4 +/- 4 tranquilizer darts and 9 +/- 9 rounds of 10mmm ammo. There is also a crate which contains 1 medkit. Now go up the slope which is above the triple doors you just came through and then immediately up the next slope again:
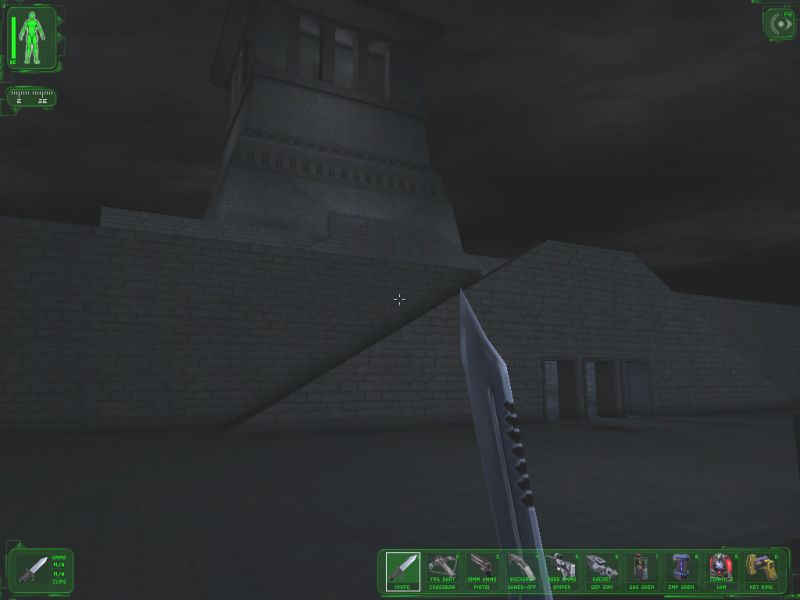
There are 4 doorways into the next part of the building. 1 is guarded by 2 enemies. The others are protected by 3 gas grenades. Disarm and collect all the gas grenades. Kill the NSF terrorist and mercenary thug in the remaining doorway. They will provide you with 2 +/- 2 tranquilizer darts and 3 +/- 3 rounds of 10mm ammo. Go up the stairs found inside the building until you meet 2 NSF terrorists. You should have been awarded 150 skill points while going up the stairs. Kill the terrorists and take their 6 +/- 6 rounds of 10mm ammo. If were unbelievably lucky earlier on in the game and picked up full clips of 10mm ammo almost all the time you may find by now that you already have as much 10mm ammo as you can carry. If that is the case then don’t worry about not picking it up, you are fortunate to be in this position!
If you find that you cannot pick up any more of a certain type of ammo, but I mention it as an item to be collected, this is just because you were fortunate enough to get more ammo from dead bodies than other people might have been. In fact I will continue to mention picking up ammo until it is impossible not to have the maximum amount of that type of ammo.
Go up the ladder in the Northwest corner of the room and then up the stairs. You will gain 750 skill points here. Pick up the 1 forty and drop your 1 hazmat suit. Speak to the terrorist leader and ask him to tell you about the shipment. Collect the augmentation canister. Return all the way to the base of the statue and go to the UNATCO HQ building where you will find Paul waiting for you. After speaking to him go through the door into the UNATCO HQ. You will be awarded 115 skill points. Find a datacube on the desk (you already had the information though) and take the 1 soda. Go down the stairs and proceed along the corridor.
NYC - UNATCO HQ
Go through the retinal scanner, down the stairs and through the door finding yourself on level 1 of the HQ. Go down the stairs on the right and then through the door on the right. This is your office. You will get 50 skill points for finding it. Leave your office and enter the room on your right, a conference room. Use 1 rocket round with your GEP gun to blast open the locked cabinet in here. Be careful to make sure it doesn’t hurt the UNATCO trooper. Take the 4 tranquilizer darts, 4 darts and 4 flare darts. Go through the door on the right to find the break room where you can meet Anna Navarre. Get back to the hallway one level 2 and enter Janice Reed’s office (Manderley’s secretary). You will find a datacube and a nanokey here. Then go through to speak to Manderley himself. You will get 250 skill points here. You can now upgrade your computer skill level to master, using up 3750 skill points. Pick up the 1 soda from his desk before returning to the hallway. You can now use your nanokey to open the 2 locked doors here. 1 of the closets contains a crate, pick up the 100 pepper cartridges inside it. Now go back to the break room and hack the ATM to withdraw 450 credits. Go down the stairs to the West so that you come out on level 3 of the HQ. Go to the left and explore Anna Navarre’s office. You will find 4 darts, 1 bioelectric cell and 1 soda, as well as another 1 soda on the desk near the detention cells. Find Sam Carter opposite Anna Navarre’s office. You will get 50 skill points here. Drop your 1 GEP gun temporarily and then talk to Sam Carter. He will give you 1 stealth pistol along with 10 rounds of 10mm ammo. When he offers you one more item, select the 1 lockpick. Find the computer ops room to the North and speak with Alex Jacobson. Look at the 2 datacubes there and collect the 3 sodas. Do not bother opening the door requiring multitools. However, go to the desk which was to the immediate right of you as you entered through the door, and crouch down next to it on the side away from the door. You should discover that there is a secret hatch in the floor there:
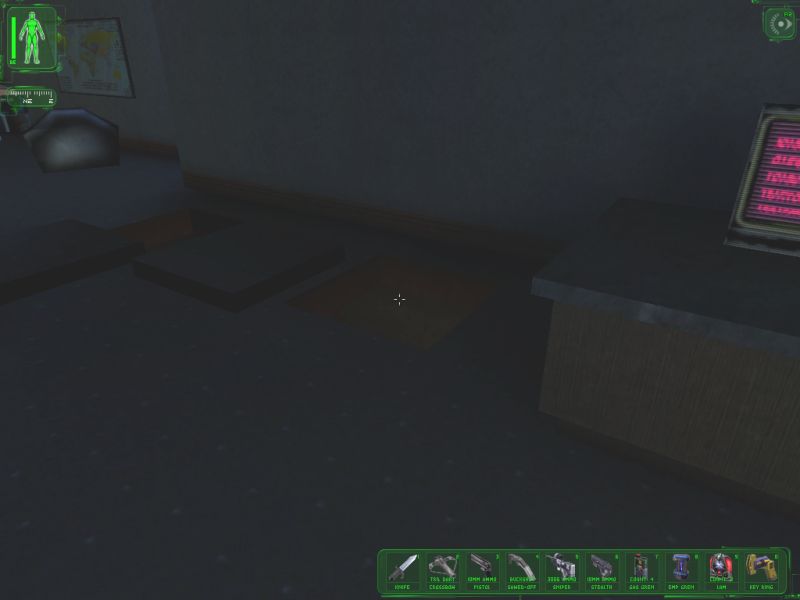
Go through and take the 6 rounds of 30.06 ammo from the crate. Pick up the nanokey and apply the scope weapon modification to your pistol. Next, enter the medical room opposite (giving you another 50 skill points) and find Jaime Reyes and a further datacube. Use the medical bot to install the combat strength augmentation. There is a nanokey hidden behind a houseplant on the shelf near where you find Jaime Reyes. Pick it up and use it to open the locked door in the area where there is the body of an NSF terrorist. Take the 1 medkit from the crate inside. Now go back to where you dropped your 1 GEP gun and collect it again. Make your way back up to level 2 to see Manderley in his office. He will give you 1250 credits for your job in the statue. Go up to level 1 and use your nanokey to open the doors to the 2 offices on this level. You should find 1 multitool and 1 lockpick in one office and a nanokey (under the desk) and weapon modification in the other. Apply the accuracy weapon modification to your pistol. Now exit the UNATCO HQ building.
NYC - Liberty Island
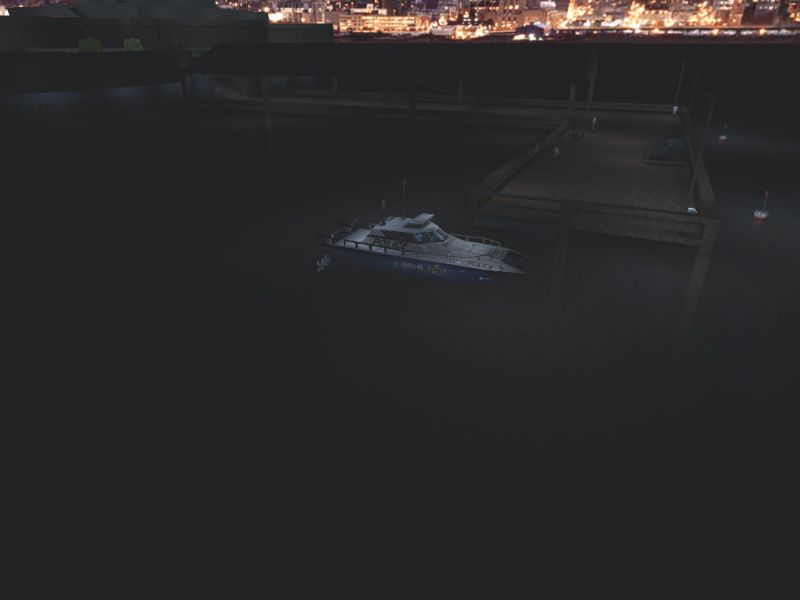
Speak to Kaplan by the gate to the HQ again and this time buy the scope weapon modification from him for 700 credits. Apply the modification to your GEP gun. Head back to the statue through the main doors and hack the ATM in there. You should be able to withdraw 300 credits. Finally go back to the South dock where you started the game and use the boat at the end to travel to your next destination:
Section Statistics
| Items | Minimum Collected | Maximum Collected | Used Up / Dropped |
|---|---|---|---|
| skill points | 8665 | n/a | 8475 |
| credits | 2600 | n/a | 700 |
| weapon modifications | 8 | n/a | 8 |
| accuracy | 3 | n/a | 3 |
| clip | 1 | n/a | 1 |
| laser | 1 | n/a | 1 |
| reload | 1 | n/a | 1 |
| scope | 2 | n/a | 2 |
| augmentations | 1 | n/a | 1 |
| augmentation upgrades | 0 | n/a | 0 |
| datacubes | 10 | n/a | n/a |
| nanokeys | 6 | n/a | n/a |
| enemies killed | 35 | n/a | n/a |
| NSF terrorists | 29 | n/a | n/a |
| mercenary thugs | 5 | n/a | n/a |
| security bots | 1 | n/a | n/a |
| ammo total | 306 | 472 | 3 |
| buckshot rounds | 4 | 4 | 0 |
| darts | 12 | 12 | 0 |
| EMP grenades | 1 | 1 | 0 |
| flare darts | 4 | 4 | 0 |
| gas grenades | 4 | 4 | 0 |
| LAMs | 2 | 2 | 0 |
| pepper cartridges | 201 | 204 | 0 |
| prod charger rounds | 12 | 12 | 0 |
| rocket rounds | 8 | 8 | 1 |
| rounds of 10mm ammo | 28 | 152 | 2 |
| rounds of 30.06 ammo | 18 | 24 | 0 |
| tranquilizer darts | 12 | 44 | 0 |
| other important items | 25 | n/a | 0 |
| bioelectric cells | 3 | n/a | 0 |
| lockpicks | 8 | n/a | 0 |
| medkits | 8 | n/a | 0 |
| multitools | 6 | n/a | 0 |